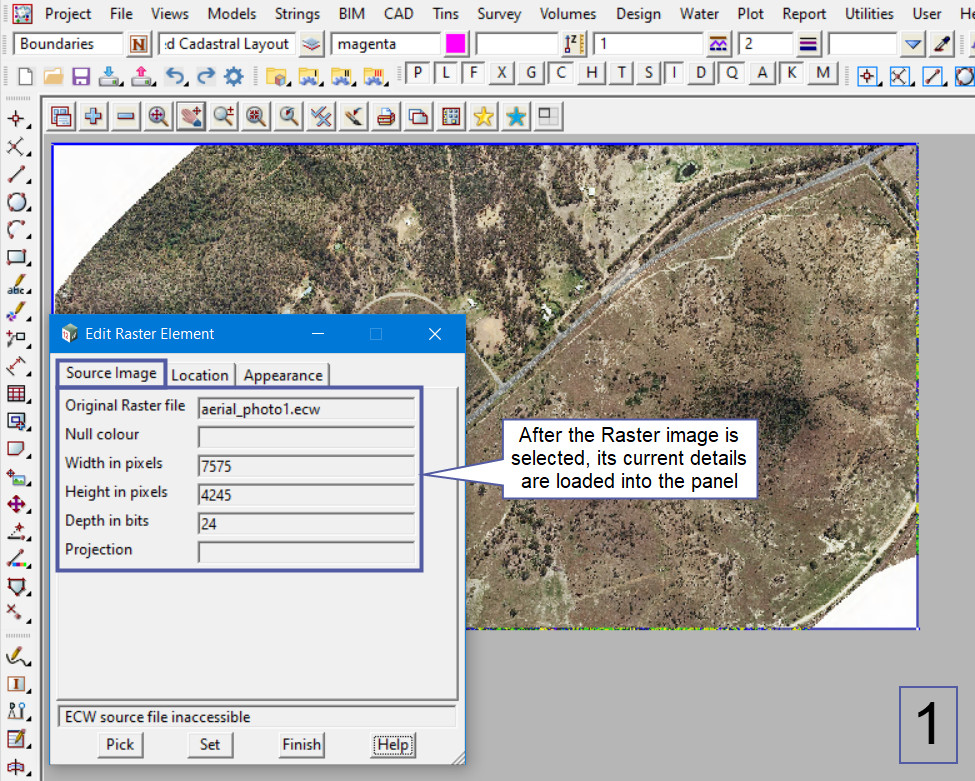
This option is used to edit an existing Raster Image in the project.
Continue down the page to see the Edit Raster Element Panel options.
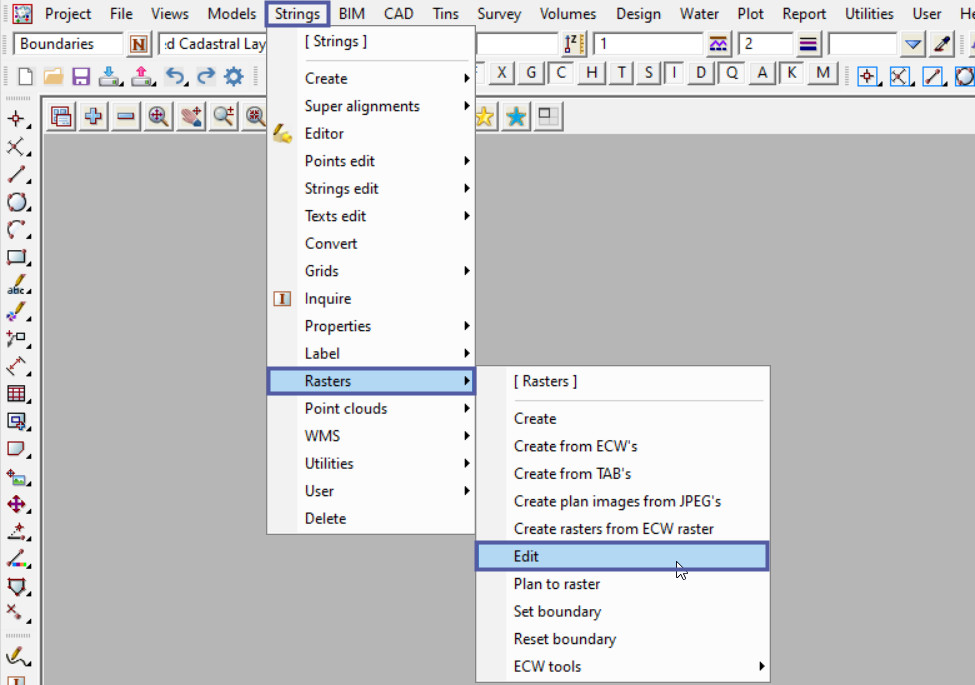
To view the Edit Raster Element Panel, Use: Strings => Rasters => Edit
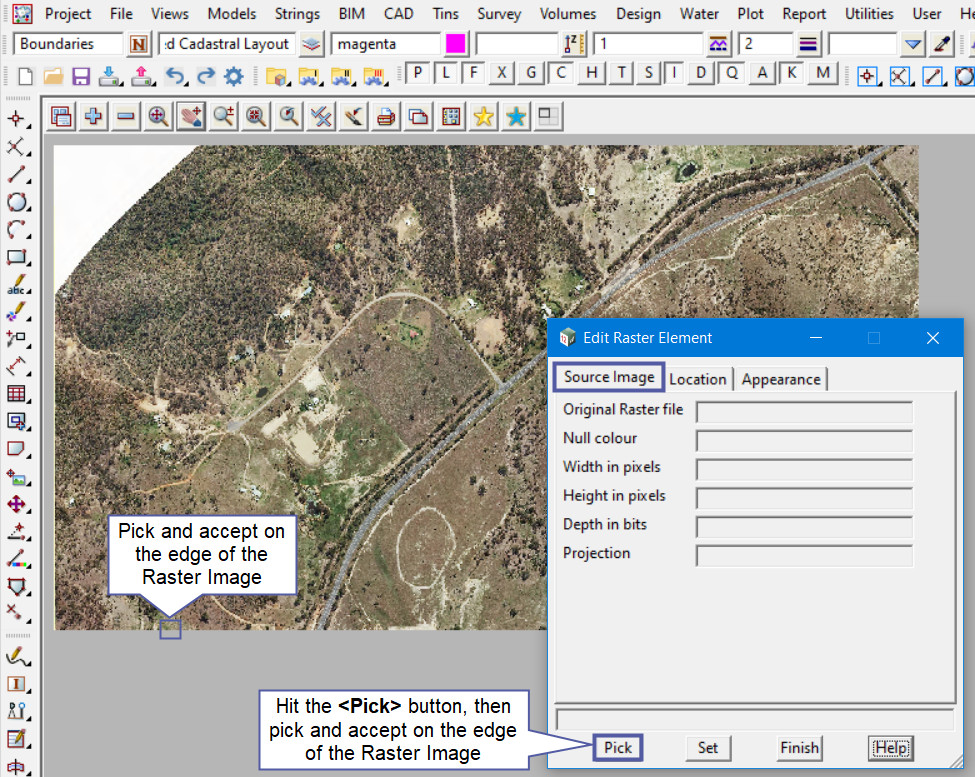
To edit a Raster Image already in a project, add the raster image to a view.
Hit the <Pick> button at the bottom of the panel and then pick and accept on the raster image to load it into the panel.
Note: The raster image has to be selected on the edge, otherwise it cannot be selected.
The Edit Raster Element panel has been loaded with all the details of the ECW Raster Image.
The ‘Source Image’ tab will only display the details – not editable.
The ‘Location’ tab will only display the details of the ECW – not editable.
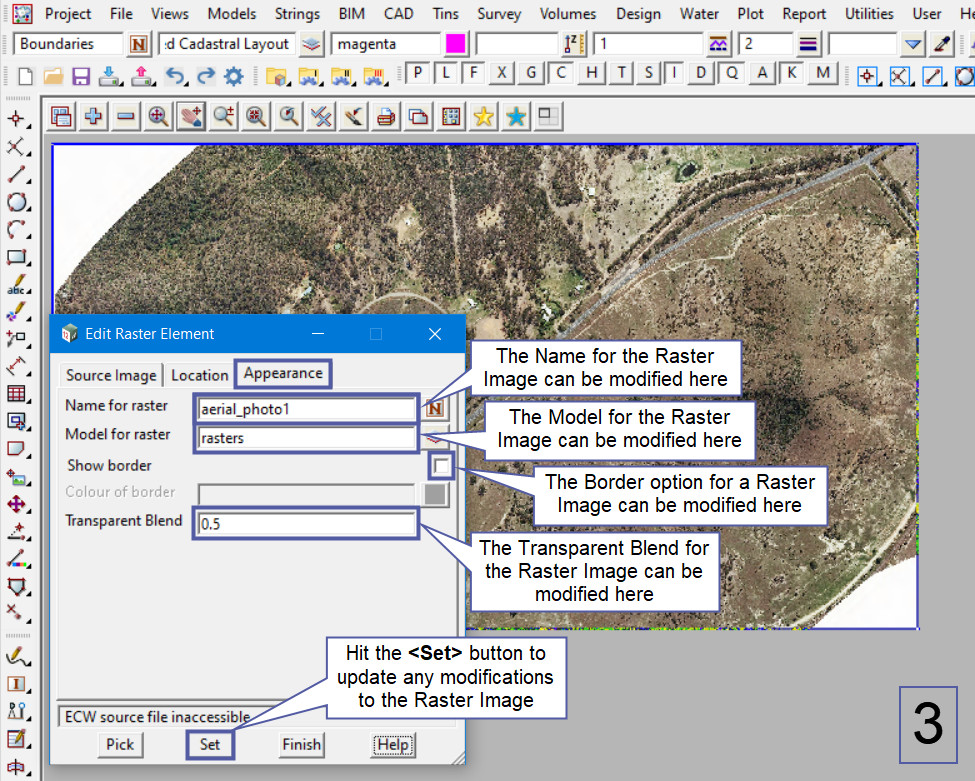
The ‘Appearance’ tab is where the ECW Raster Image can be edited. The Name and Model for the Raster Image can be modified, along with the Border option, activating it or turning it off.
The Border colour if activated can also be modified here.
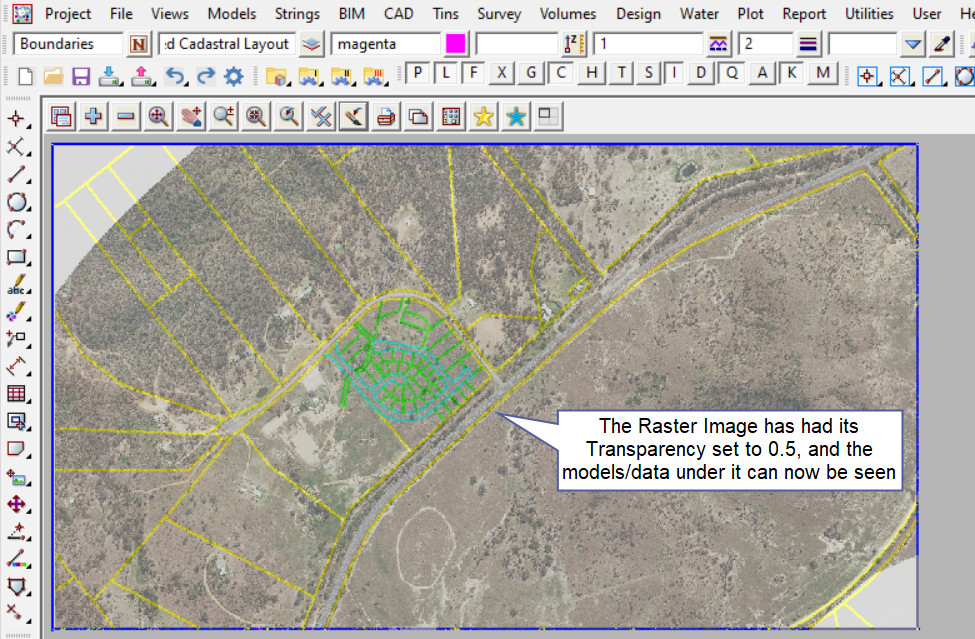
The Transparent Blend option can be modified, with a value of between 0 and 1. This controls the level of transparency of the raster image.
0 = Invisible – not seen at all.
1 = Visible – solid, and cannot be seen through.
Below the Transparency of the Raster Image has been modified to a value of 0.5, this then shows that the data that was underneath the raster image is now visible.
There are options for moving models, tins and rasters to the front and back of data already added to a view.
If you would like to learn more about the Send Tins/Rasters to Back option,
Visit this post: Send Tins/Rasters to Back of View
There are options for the model order, if you would like to learn more about the Model Order option,
Visit this post: Model Order
