This tool is used to create a CAD Point, located at the middle of a segment of a string.
The video below will show how to create a CAD Point at the Mid-Point of a line or segment of a string.
Or continue down the page to see the CAD Point Mid-Segment create options.
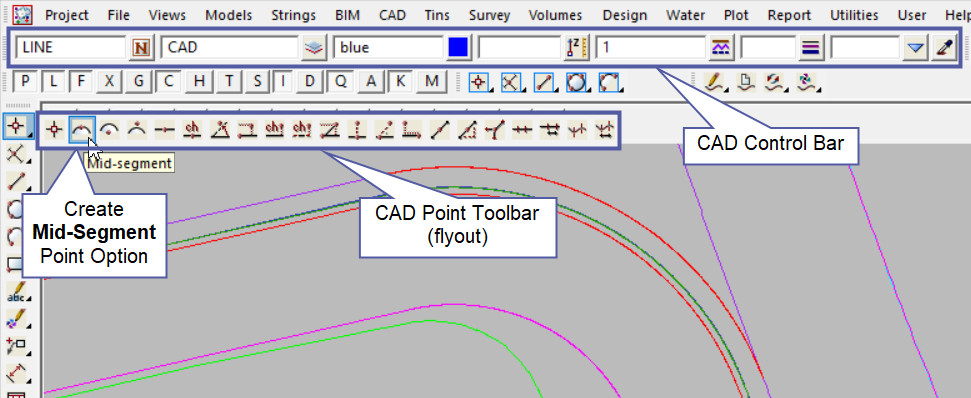
This CAD Point Mid-Segment option is found on the CAD Point Toolbar, and is the 2nd option when the toolbar files out.
Or from the menu, Use: CAD => Point => Mid-Segment

CAD Control Bar Options
The Point is created and placed using the details from the CAD Control Bar, these include,
String Name, Model, Colour, Z – Value, Linestyle, Weight and Tinable.
If you would like to learn more about the CAD Control Bar and how to utilise it,
Visit this post: CAD Control Bar – How to Utilise It
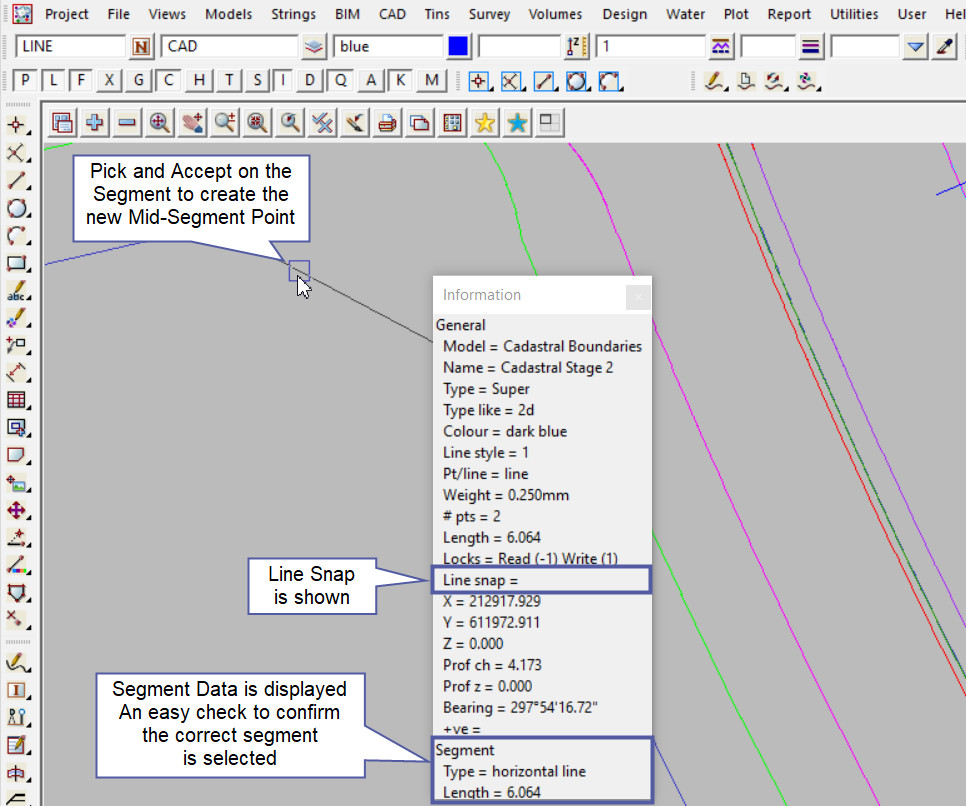
To create a point at the Mid-Segment of a Line, pick a line snap (select the line between the 2 points where the new mid-segment point is to be created). The information panel will show that you have selected a line snap. Accept the position to create the new point at the middle of the selected segment. Accept the segment and the new point is created.
Note: Turn the model onto the screen if the point is not shown.

Use a String Inquire to check the details of the new point.
Note: The newly created point, is only a single point not associated or attached with the string that was selected in the create option.
