This option is an extra post on utilising the ‘Smooth Contours’ option on the ‘Contour, Smooth and Label’ panel.
If you would like to view the post for the Contour Smooth and Label panel and how to utilise it,
Visit this post: Contour Smooth and Label
Continue down the page to see the Contour Smooth and Label – Smooth Contours options.
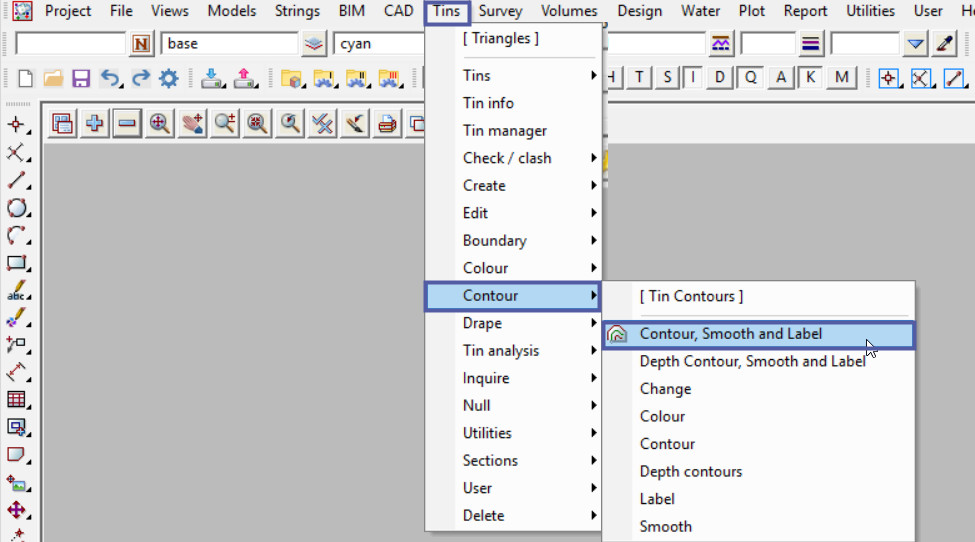
To view the Contour, Smooth and Label Panel,
Use: Tins => Contours => Contour, Smooth and Label
No Smoothing Applied
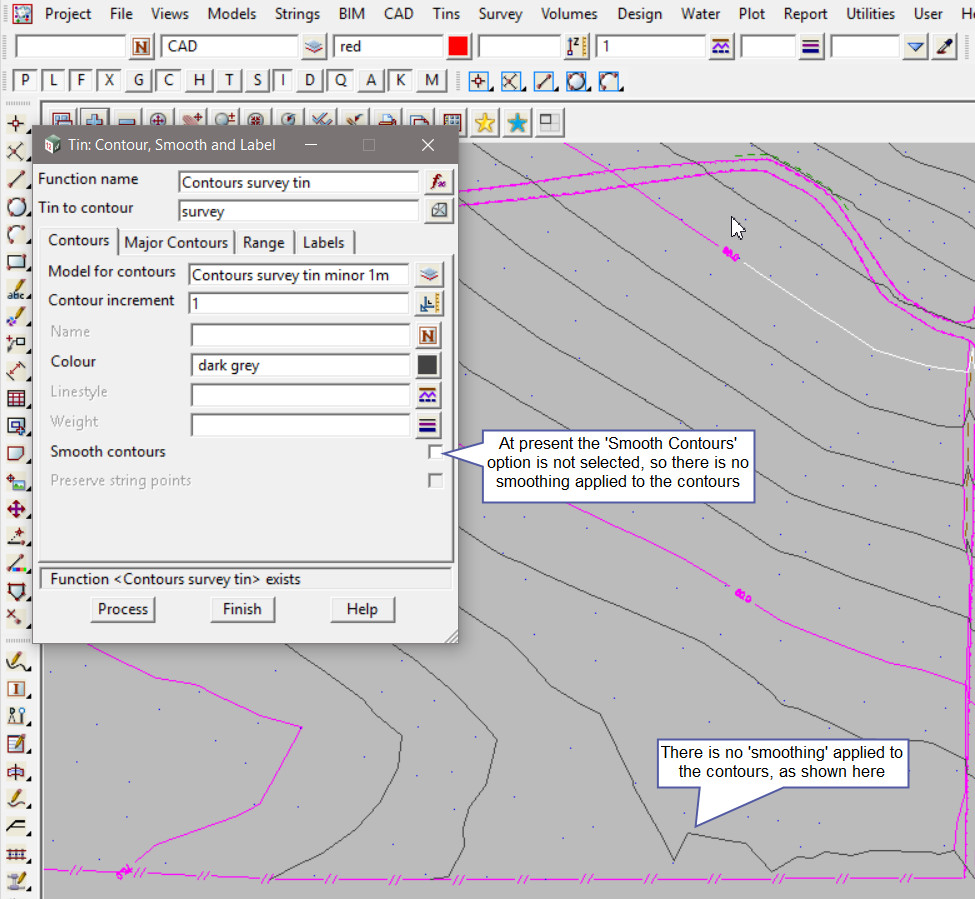
Below are the contours that were created from the previous post, with no smoothing applied.
Smooth Contours
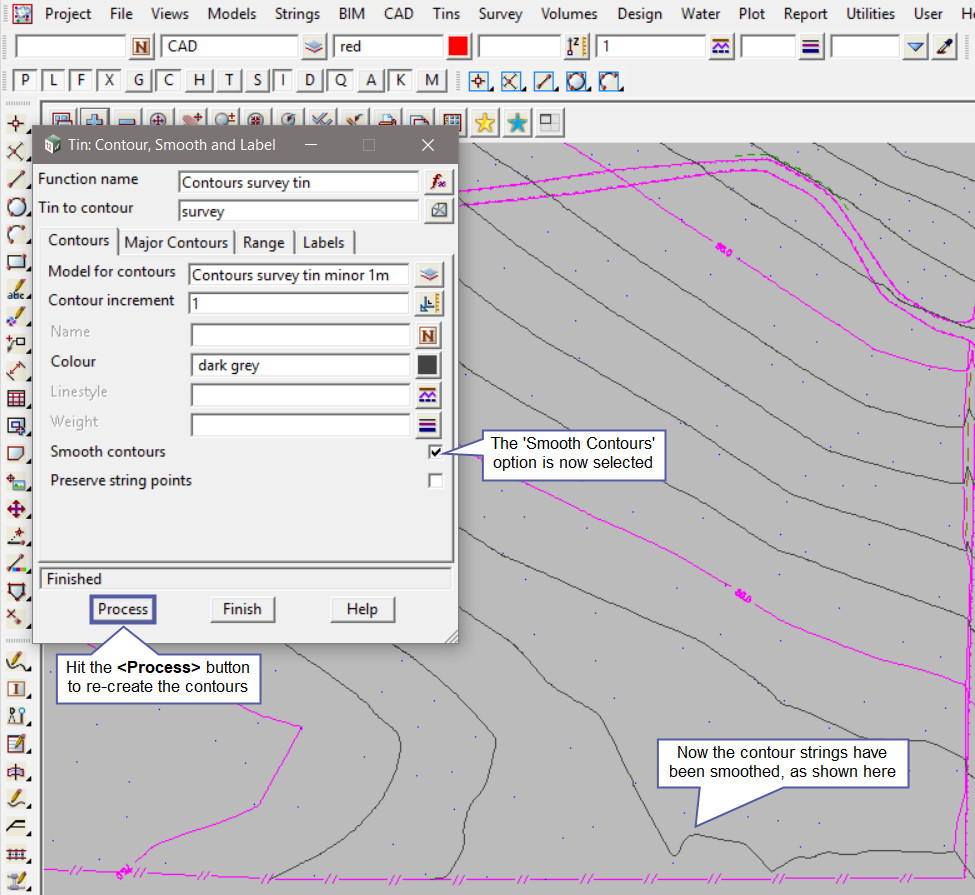
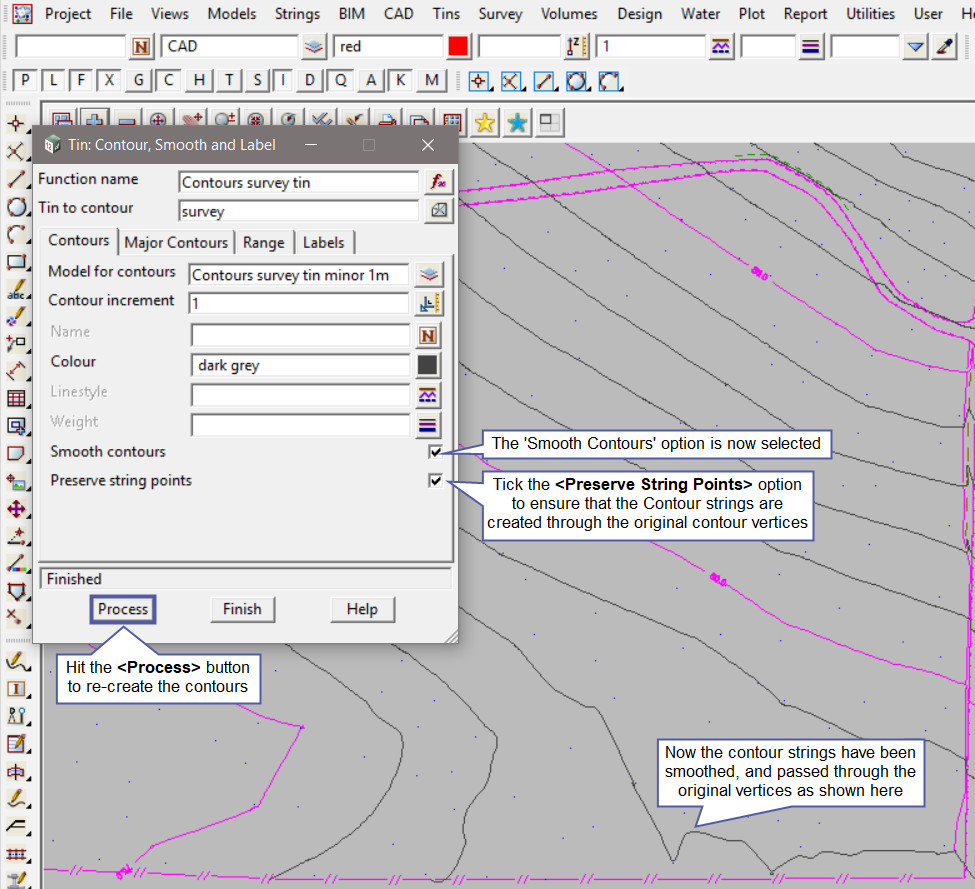
Tick the <Smooth Contours> option, to smooth the contours.
Hit the <Process> button to re-create the contour strings and labels.
The contours have now been rounded to look like a smoother string. Basically more points are added to the string when a change of direction occurs.
Preserve String Points
Once the <Smooth Contours> option is ticked, the ‘Preserve String Points’ option becomes available.
Tick the <Preserve String Points> option.
Hit the <Process> button to re-create the contour strings and labels.
The contours have now been rounded to look like a smoother string, but ensures that the contour string still goes through the original vertices of the original contour strings.
Another Example – Closer up
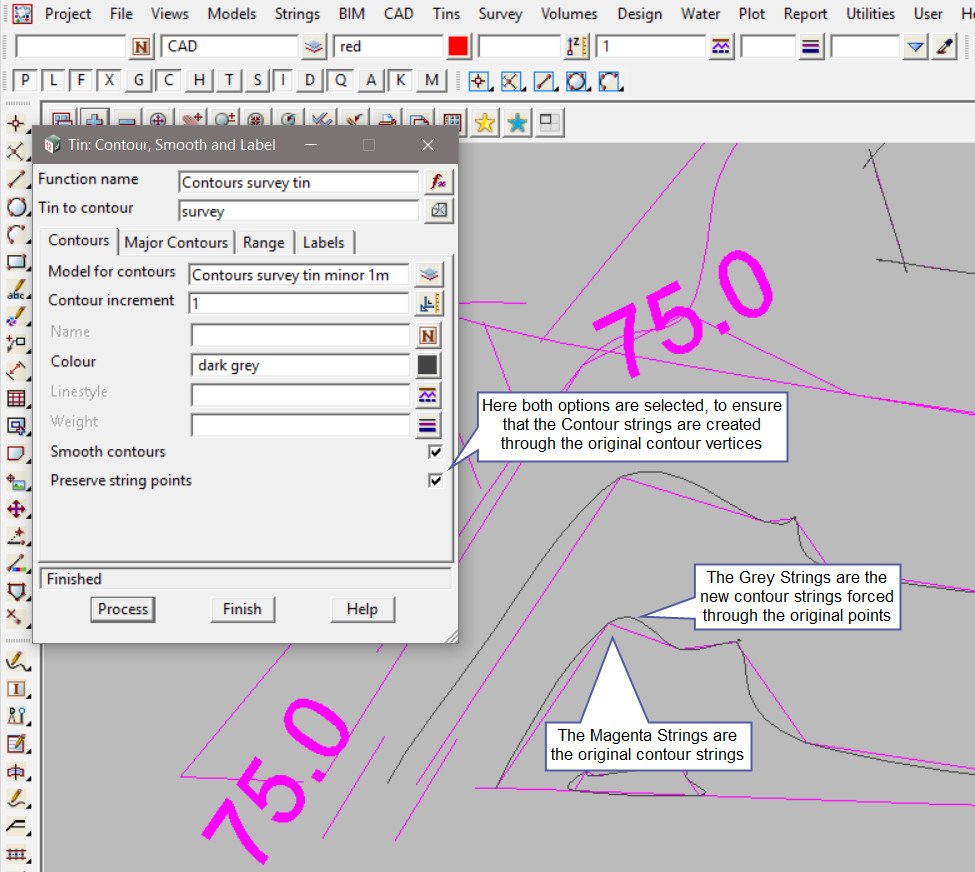
Here both the ‘Smooth Contours’ and the ‘Preserve String Points’ options are ticked, and the contours have been smoothed, as well as passing through the original contour string vertices.
Magenta Strings = Original Contour Strings
Grey Strings = New Smoothed Contour Strings
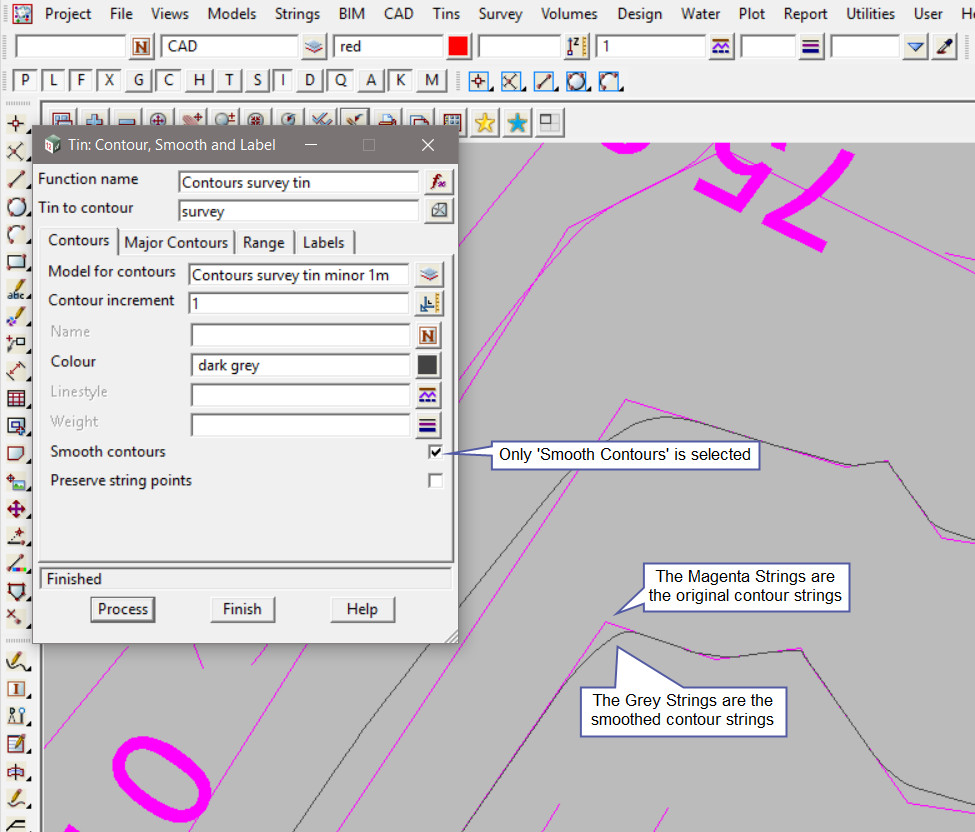
Here only the ‘Smooth Contours’ option is ticked, and the contours have been smoothed.
Magenta Strings = Original Contour Strings
Grey Strings = New Smoothed Contour Strings
