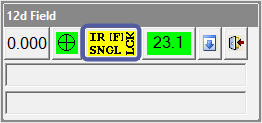
The yellow button, third from the left, on the 12d Field instrument control bar opens up the 12d Field – TPS Settings panel. This panel allows the user to control the instruments measurement parameters and settings.
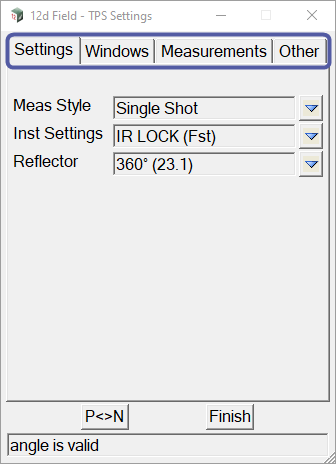
The 12d Field – TPS Settings panel is divided into four tabbed sections.
- Settings
- Windows
- Measurements
- Other
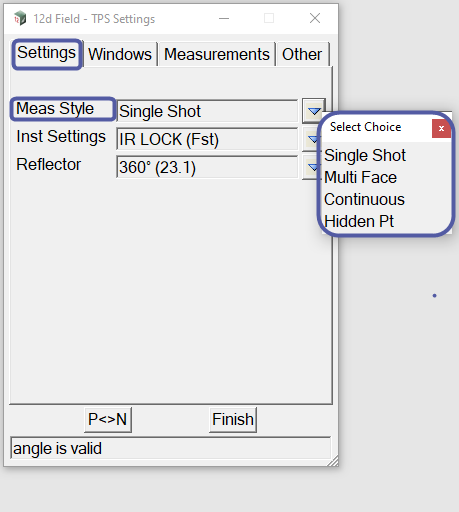
The Settings Tab is used to set the instruments measuring style, instrument settings and reflector type.
The ‘Meas style’ can be set to one of the four following styles:
Single Shot – Used for taking single shot measurements.
Multi Face – Used to take a Face Left and Face Right shot.
Continuous – Used for taking continuously measured shots.
Hidden Pt – Used to take a shot at the correct position, if the pole cannot be held level at the desired location. For example, If the pole can only be held on an angle instead of level due to an obstruction or likewise, then it is possible to get a shot with the pole on a lean. This method requires the measurement of two shots at different target heights. 12d Field will then calculate the angle between these two shots and store the point at the base of the pole location.
The ‘Inst Settings’ are instrument specific, the settings shown below are for Leica. These control the locking and tracking options

The ‘Reflector’ drop down list contains the available reflectors that can be set, these are different for different types of instruments. The options shown below are for Leica.
The Reflectors shown are built into 12d Field.
If you are using a reflector that is not in the list, you can add an entry to the 12dF_TPS_USER_PRISMS.4D file in the \user folder.

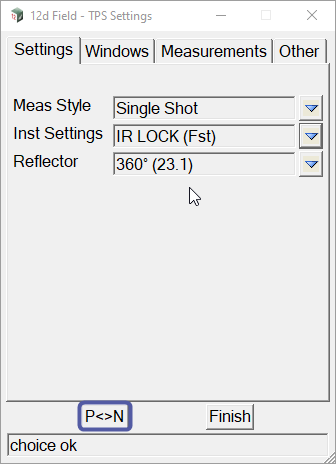
The <P<>N> (Previous< > Next) button switches between the current settings and the previous settings.
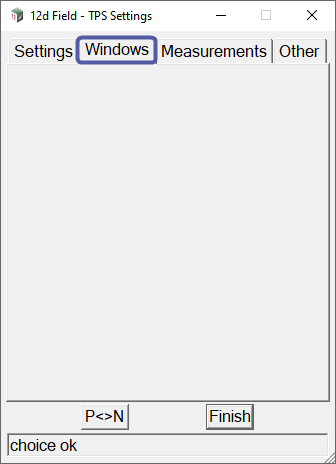
The Windows tab it is used for setting the PowerSearch parameters (the below image does not display the PowerSearch parameters because the TPS simulator is being used).
The Measurements tab is used to set the measurement tolerances that 12d Field will accept from the instrument.
The ‘Hz-Dist scale factor’ can be manually entered and it will be applied to all of the horizontal distances.
The remaining settings relate to multi-face observations, measurement rounds, etc.
The ‘Avg Max Shots’ and ‘Avg Min Shots’ can be set to the users preference. This relates to how many shots the instrument will take until it achieves the set standard deviations.
Warnings are given if the standard deviations are not achieved during the measurements.

the Other tab is used to change the ‘Simulator type’
